Showing posts with label crafts. Show all posts

12.26.2011


We're blessed to have 7 (soon to be 9) little ones in our life. And since we love these little people just about more than anything- we always try to find them memorable christmas presents. This year i came across the idea for fort building kits and i knew thats what we had to do! (seriously growing up we were always building forts- once we made one that covered the entire basement) So I thought i'd share our DYI version of a build your own fort kit! 

Rope (used to tie things- possibly blankets or possibly your siblings )


Lantern (great for reading AND those midnight bathroom breaks) 


S'mores (oh yeah- and so far this little jar of stickiness is getting rave reviews) 

I used chalkboard spray paint for the tops of the mason jars just to make them a little more personal!  


Flat sheet(s) (i sewed heavy ribbon on all the corners and midlines so it could easily be tied to bedposts and dressers- you know the important things)  


Clothes Pins (for added support)   


And we must not forget the most important part of fort building- getting to do it with all the little ones we love!   


If you interested in my tags just leave me a comment with your email and i'd be happy to send them right along! 
11.11.2011


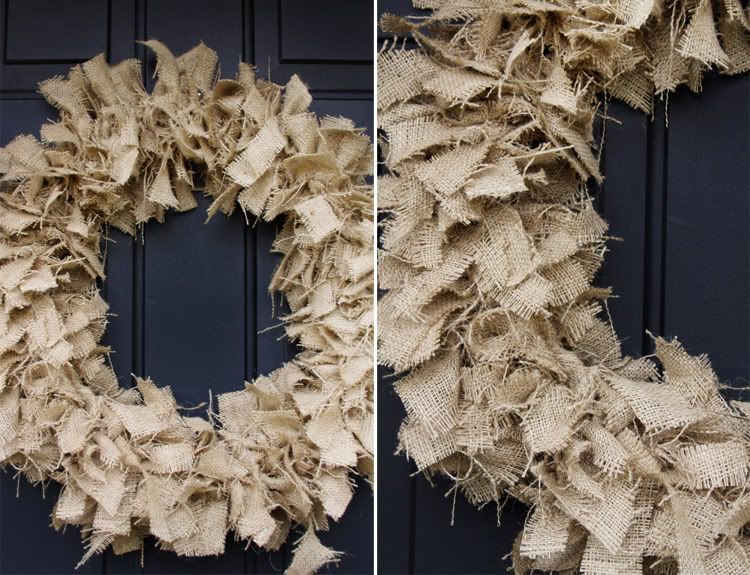
So i saw a burlap wreath last week on pinterest. And lets just say i fell in love with it! (remember how i love all things old) However the esty shop wanted anywhere between $39-59. And since that is more than i wanted to spend on a single wreath i figured i'd try my hand at DYI my own burlap wreath- and i love how it turned out so i thought i'd share it with you! Its so simple and easy! 


All you need are three things
1- Scissors 
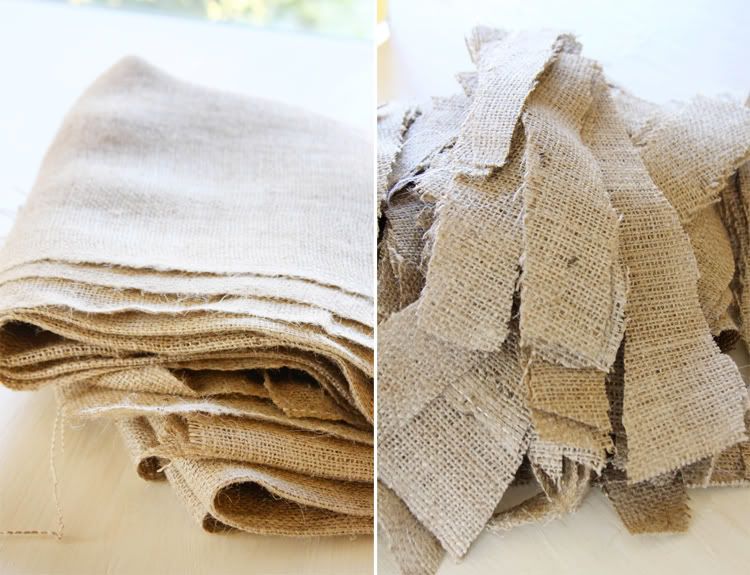
2-  Burlap- I bought 2 yards for $3.99/yard at Joanns plus my 40% off coupon so my burlap total came to $4.79
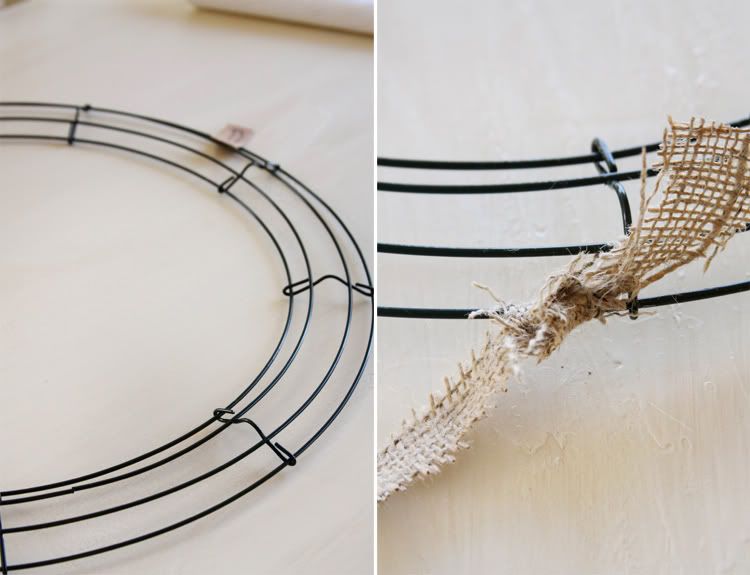
3- Wire wreath- $3.49 at Michaels plus a 40% off coupon came out to $2.10

Step 1: Cut burlap into strips roughly 1 to 2 inches wide and 4 to 5 inches long. I'm not patient enough to measure the burlap so i just cut strips and they turned out a little uneven but overall i think it added a nice look to the wreath. 
Disclaimer: Cut your burlap outside- it makes a gigantic mess!  


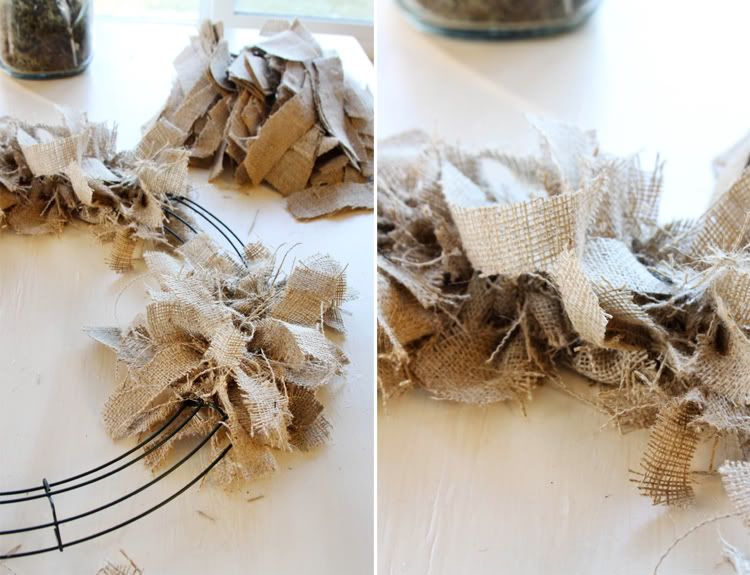
Step 2: Tie! Start at one end and start knotting your burlap strips around each wire layer. (just one knot was sufficient) It's important to cover all four wires all the way around so the wreath looks nice and thick! 


The total project was made for less than $7 and took maybe 45 minutes to complete- I love how the burlap looks on our front door for Thanksgiving and then i might dress it up with a little red if I want to enjoy it through Christmas! Happy crafting! 


9.11.2011


dear sister in-law (whose actually more like a sister) i had fun showering you and soon to be baby ollie this weekend. we are so sad your moving away- but so excited to come visit.  


blogger templates | Make Money Online